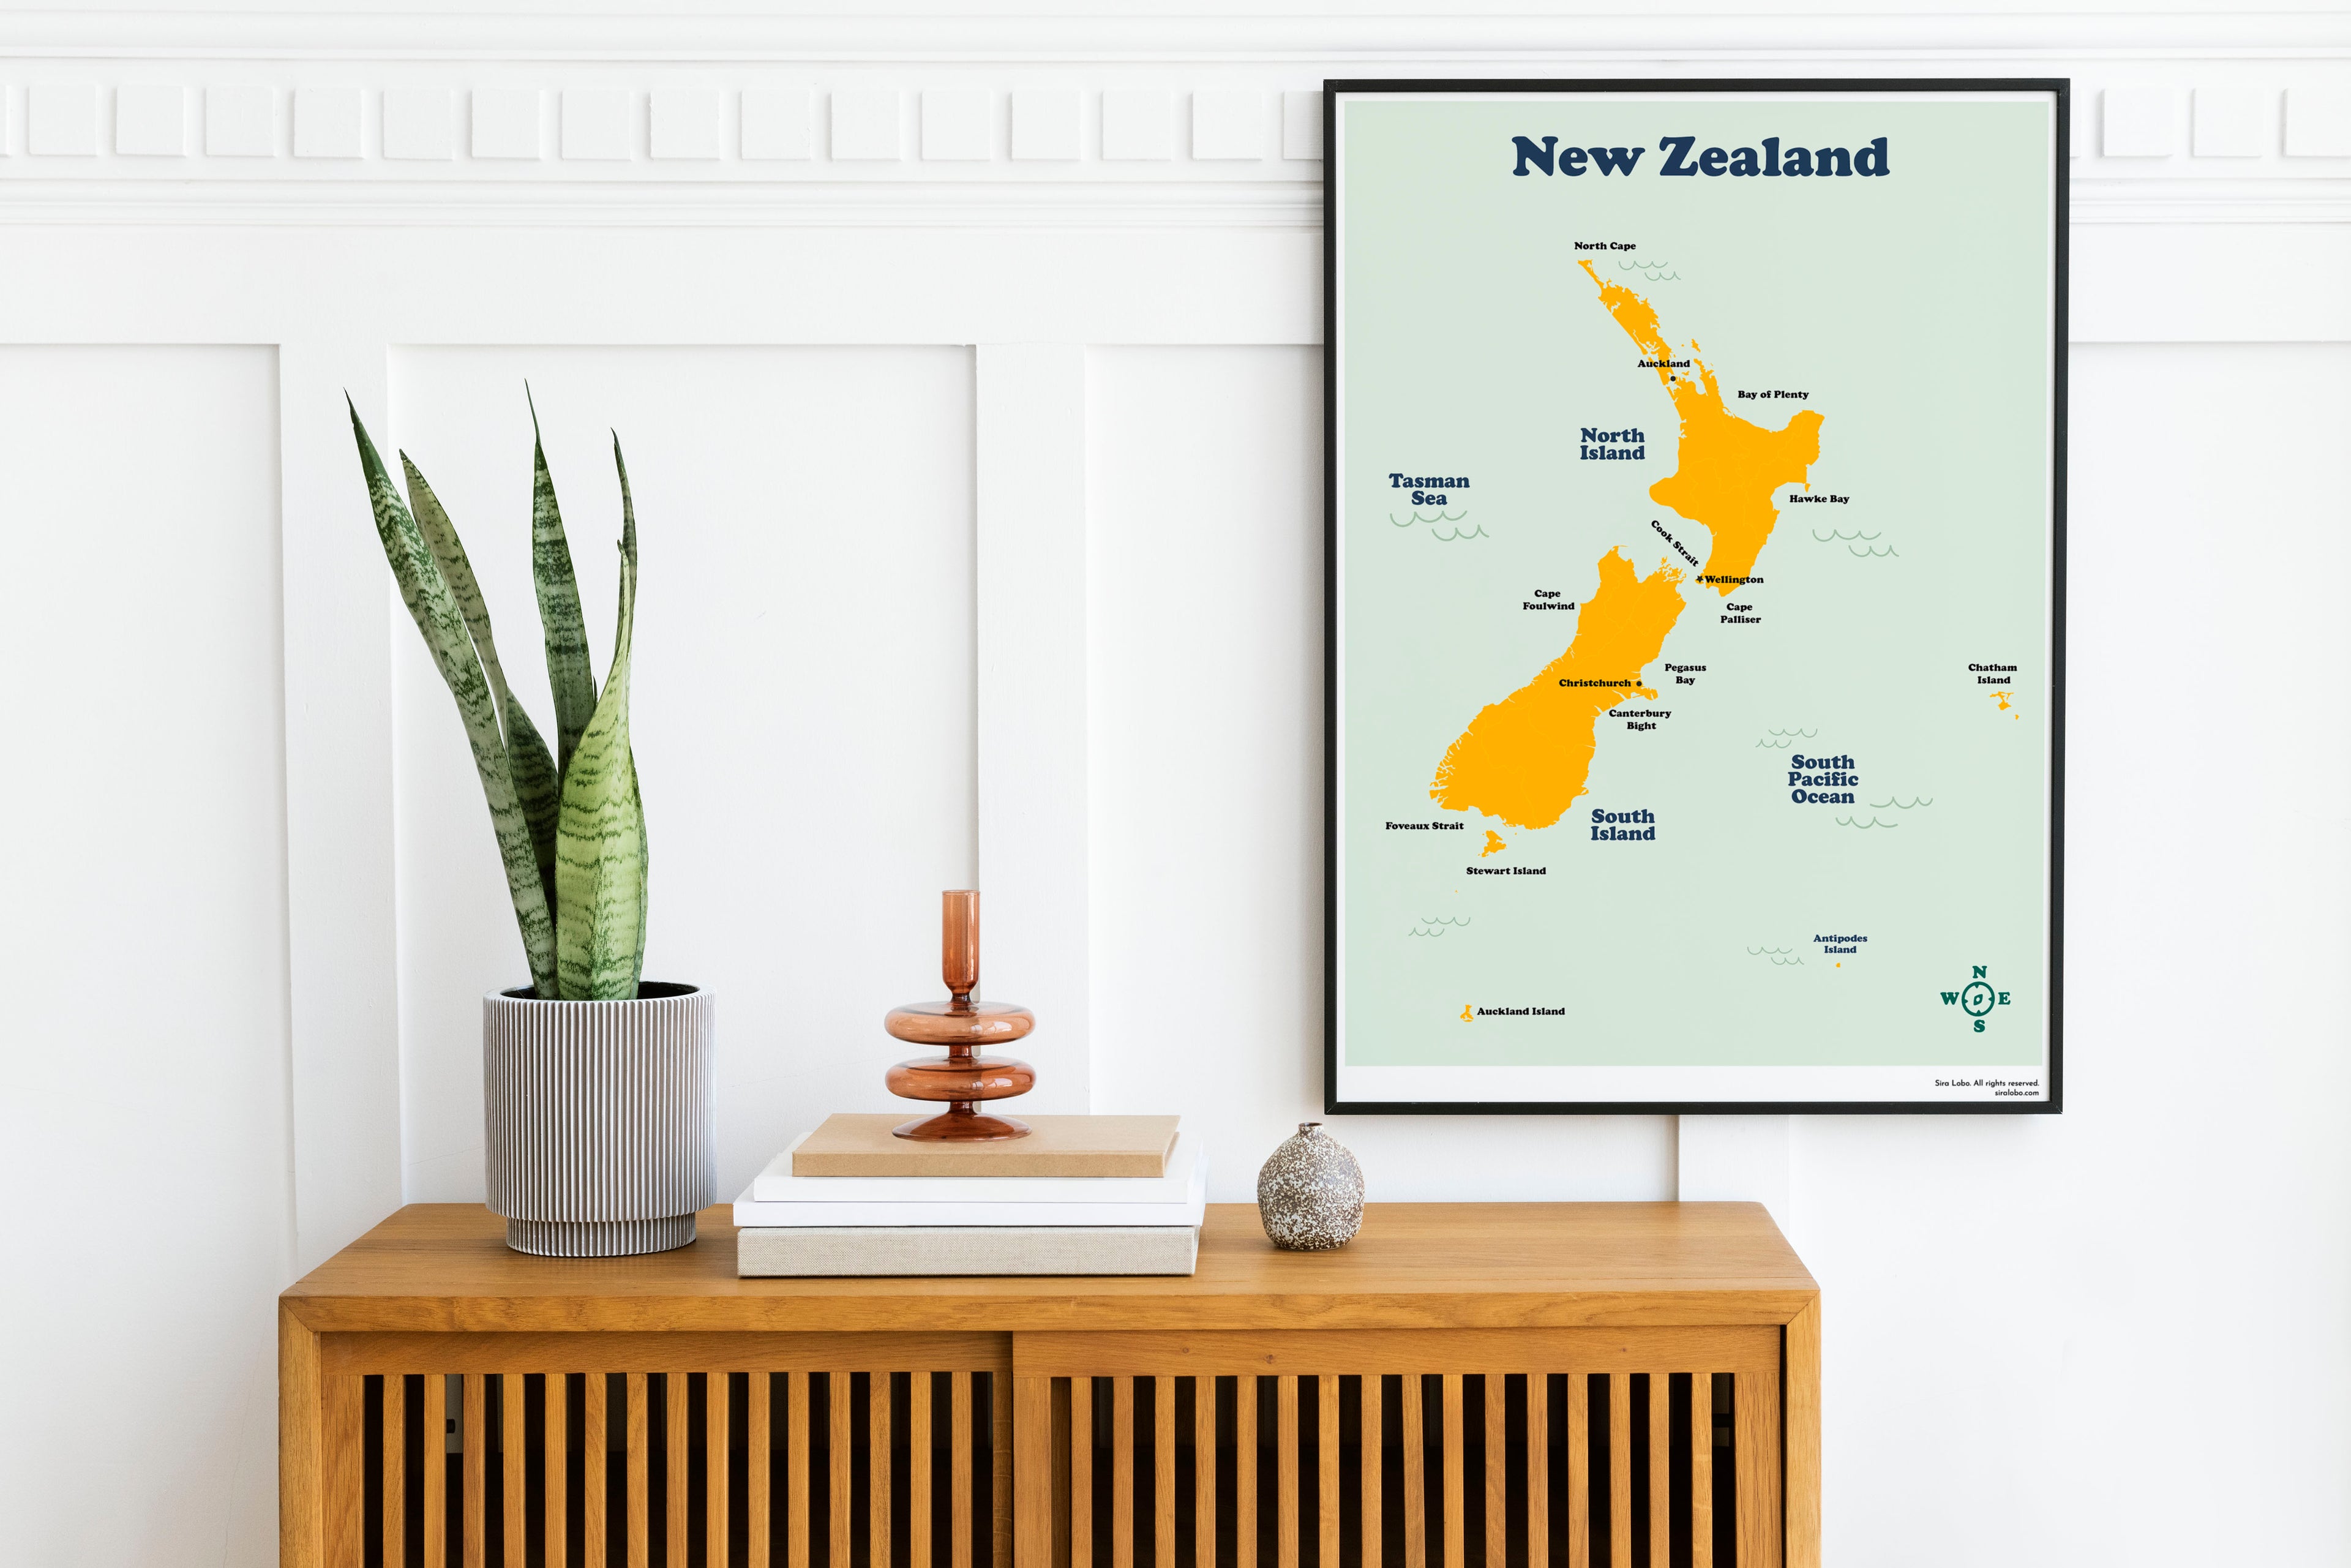
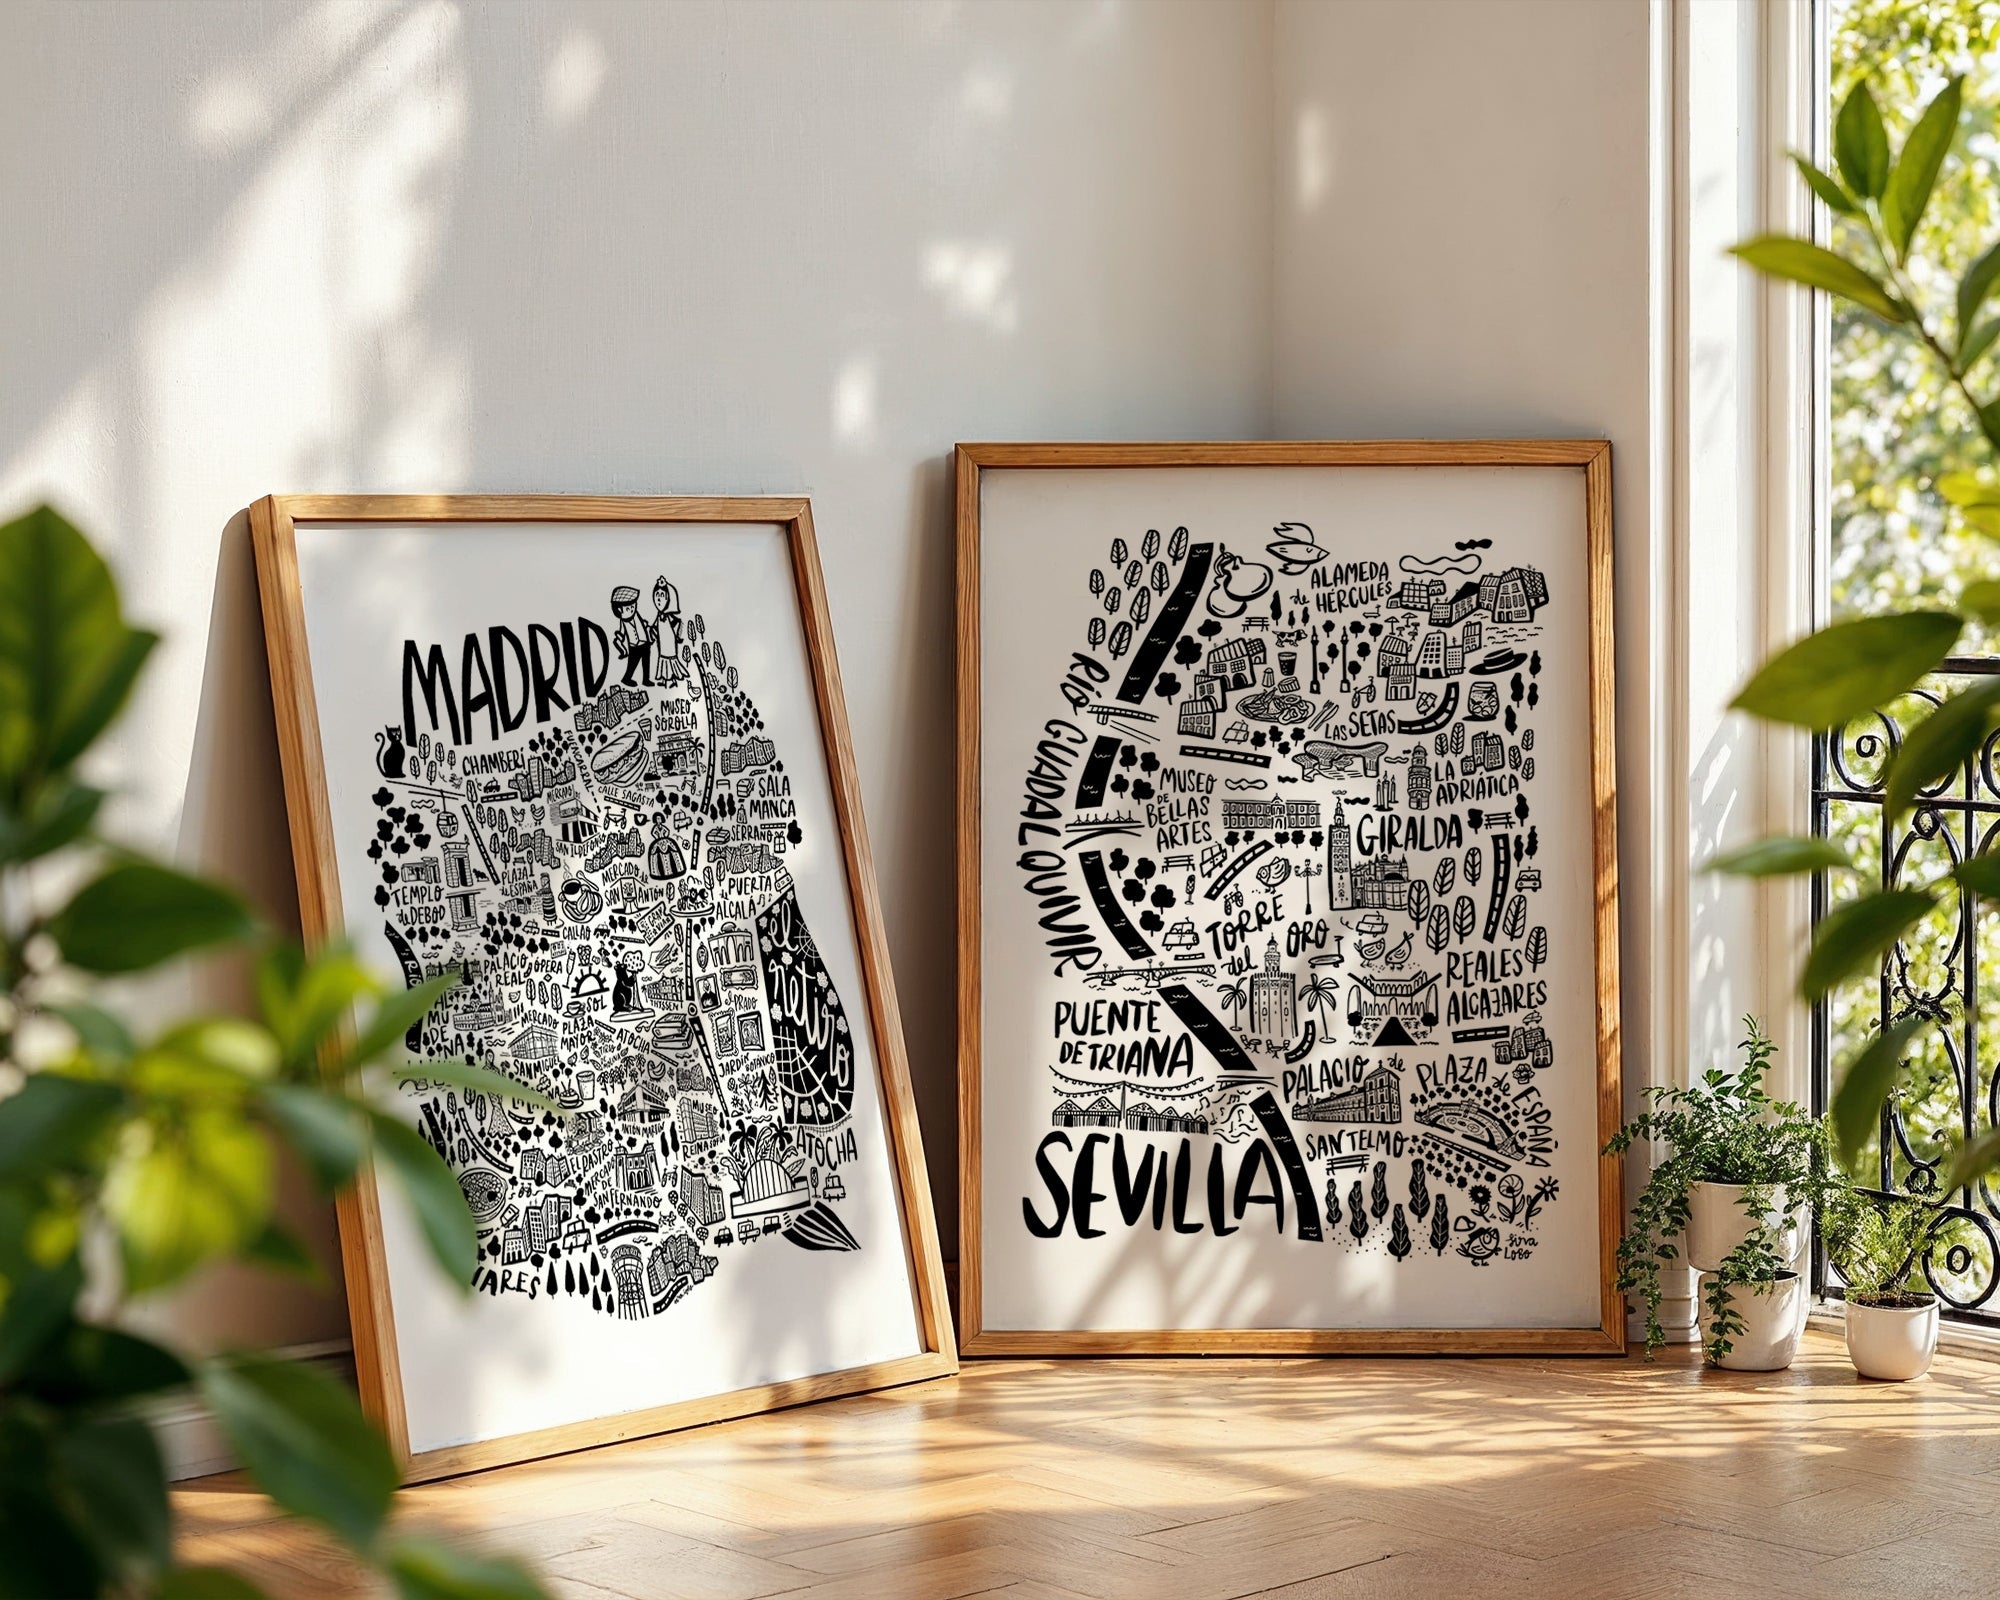
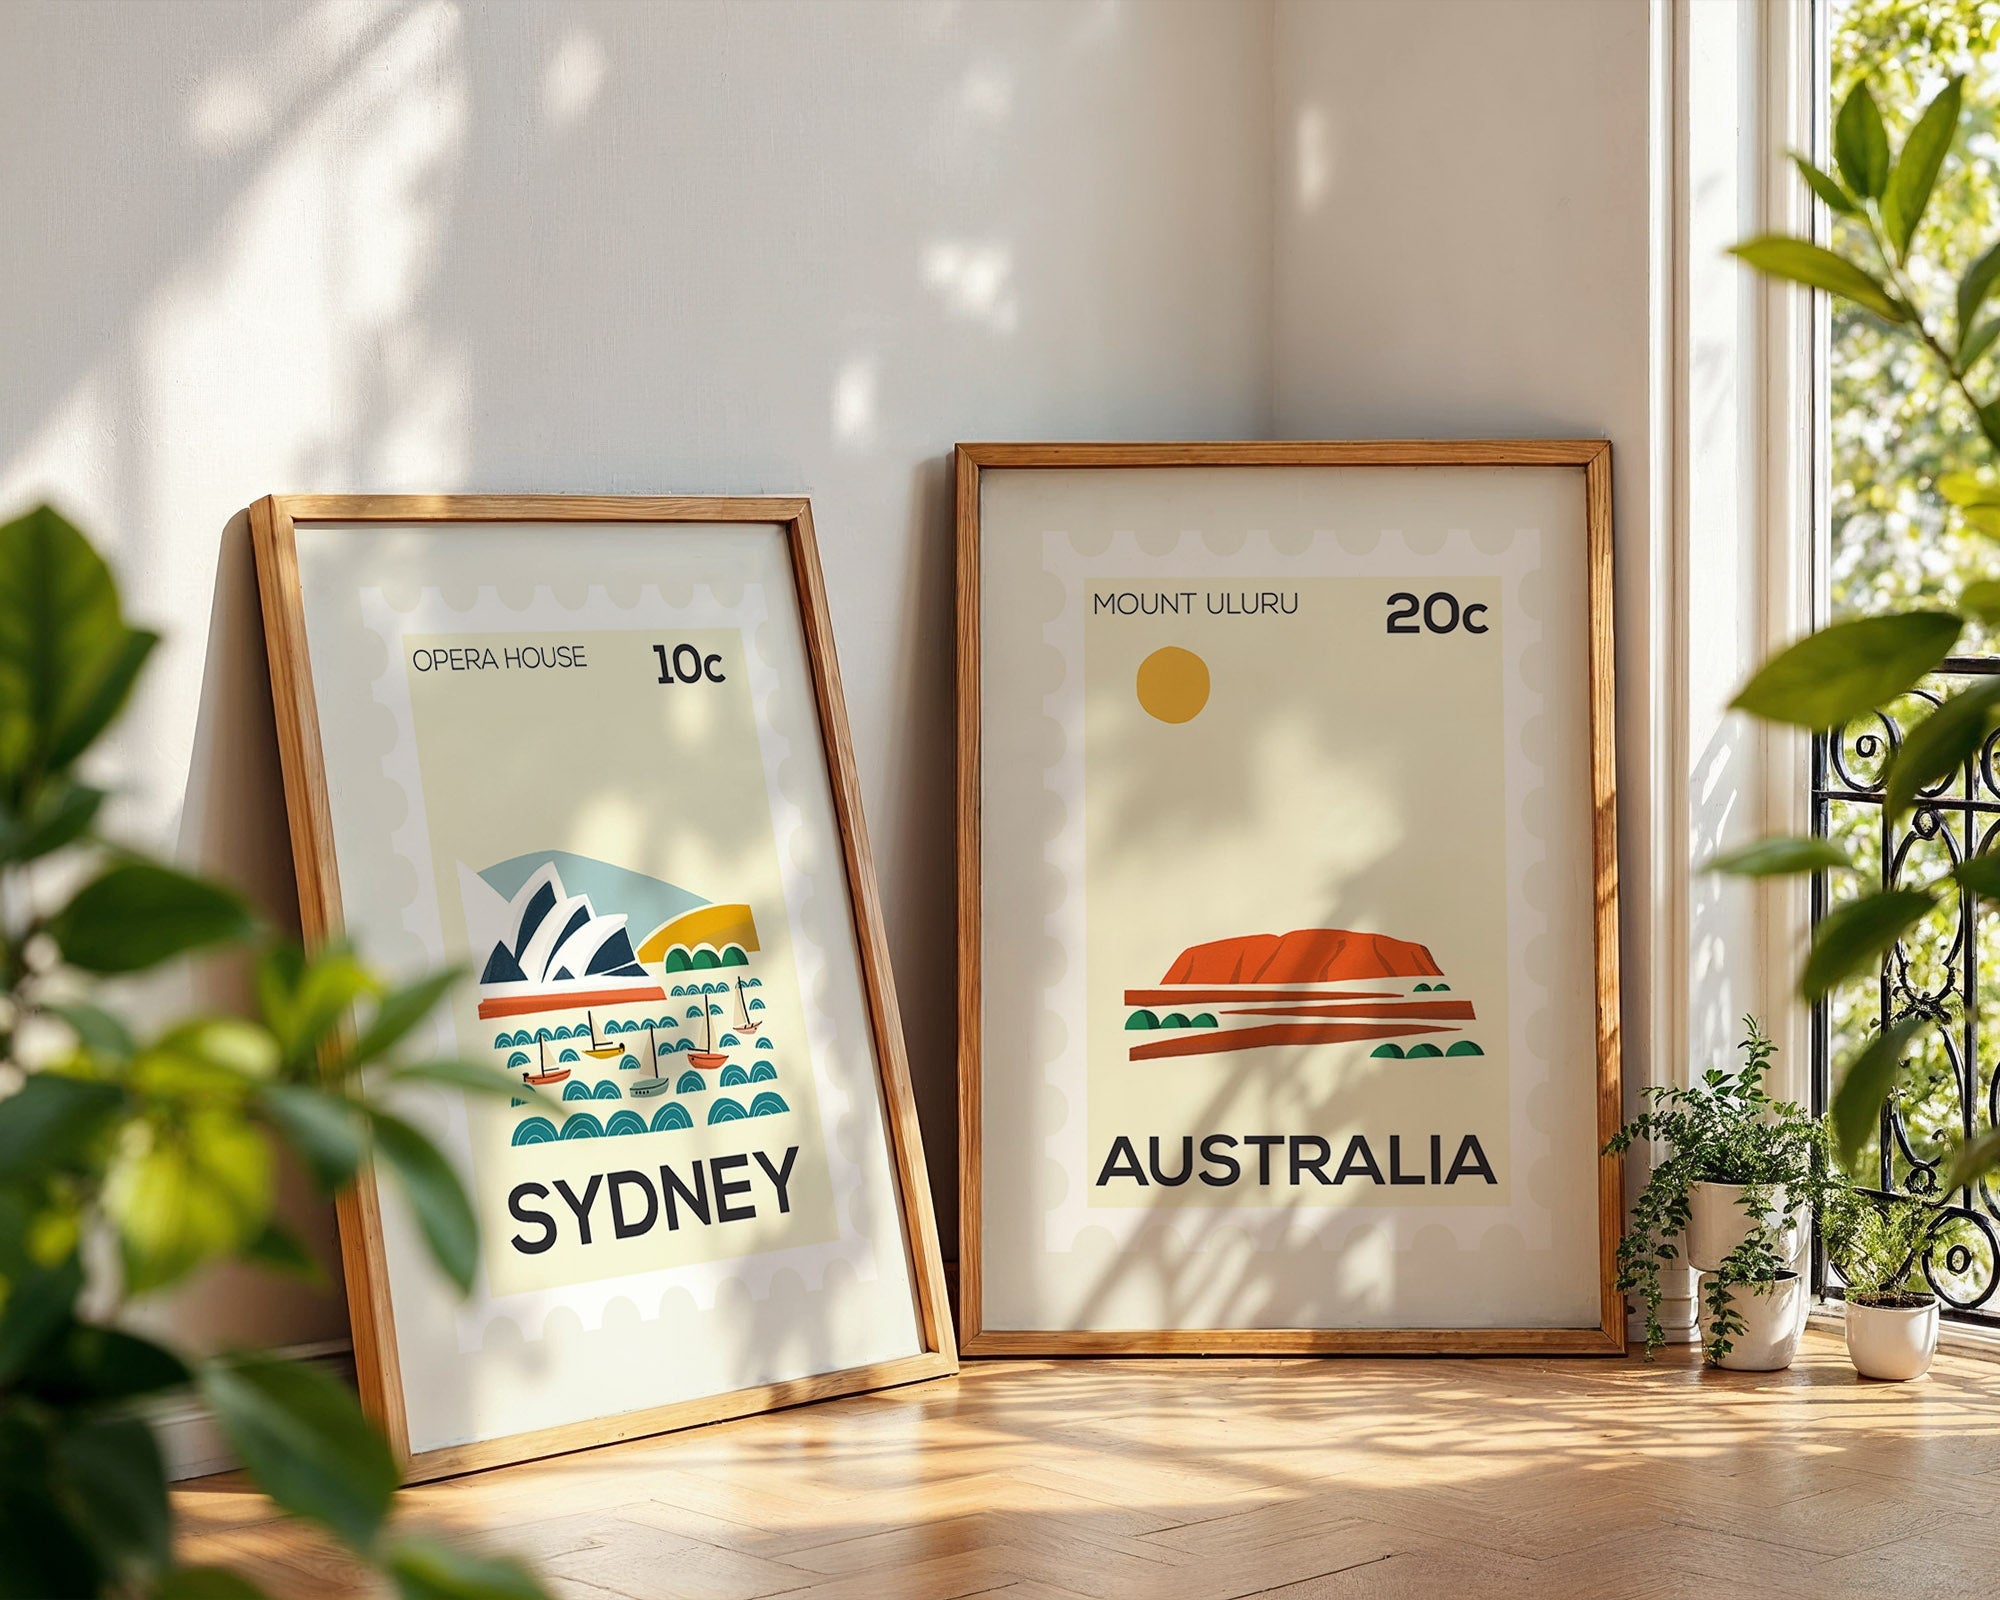
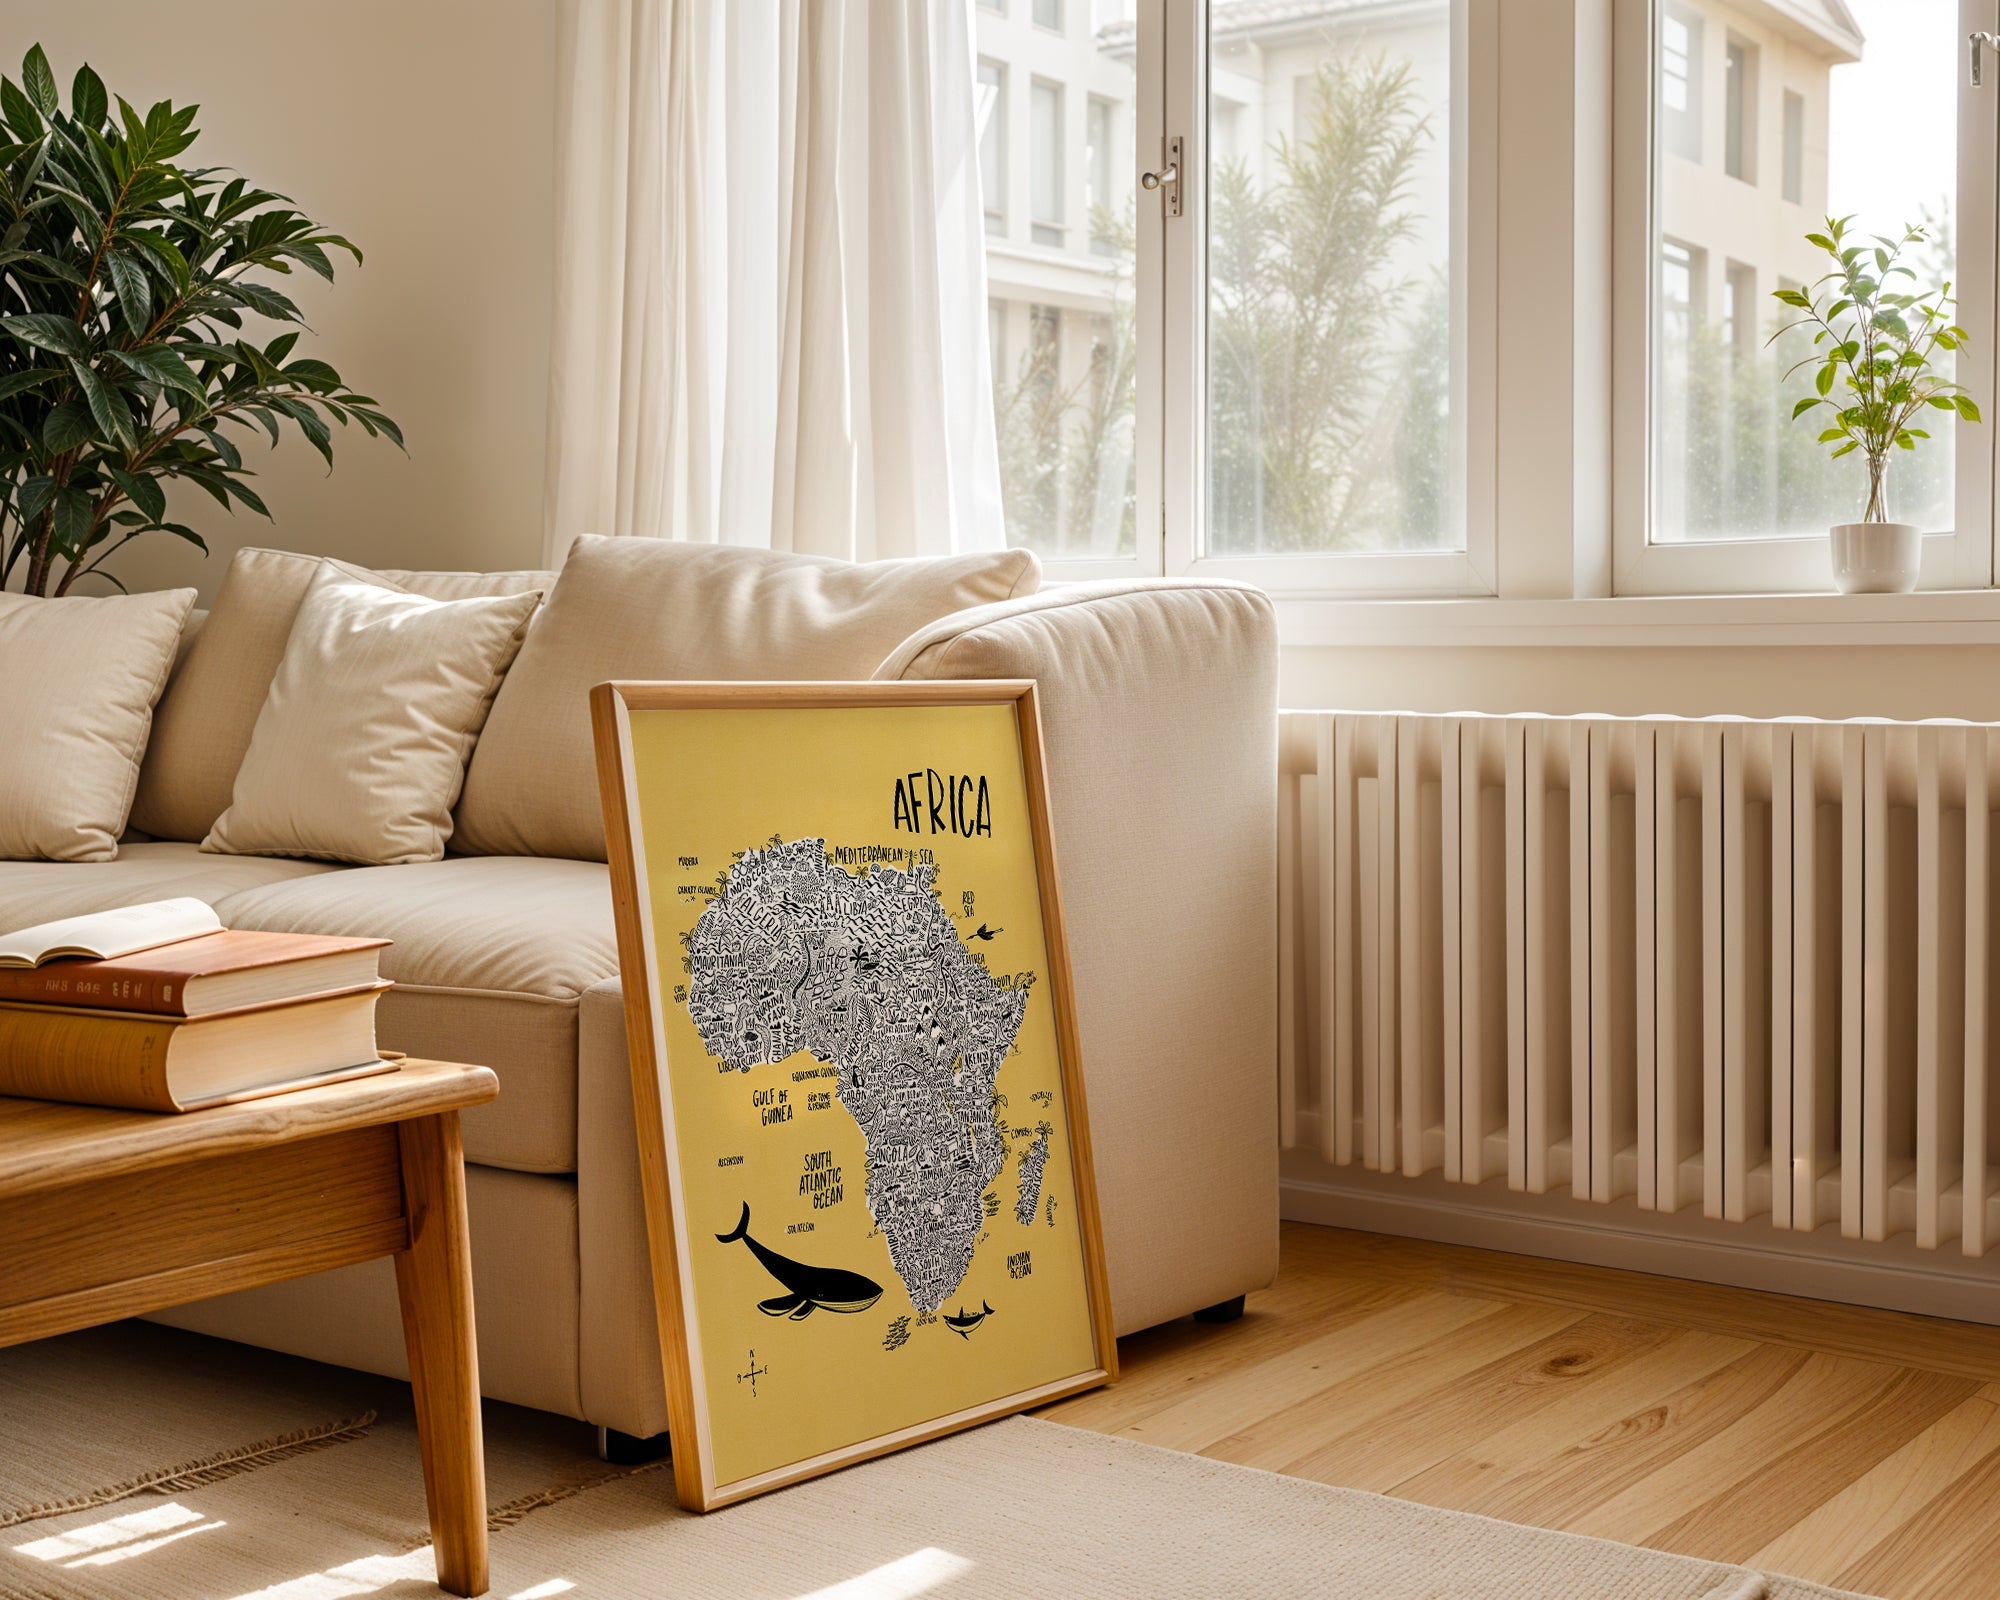
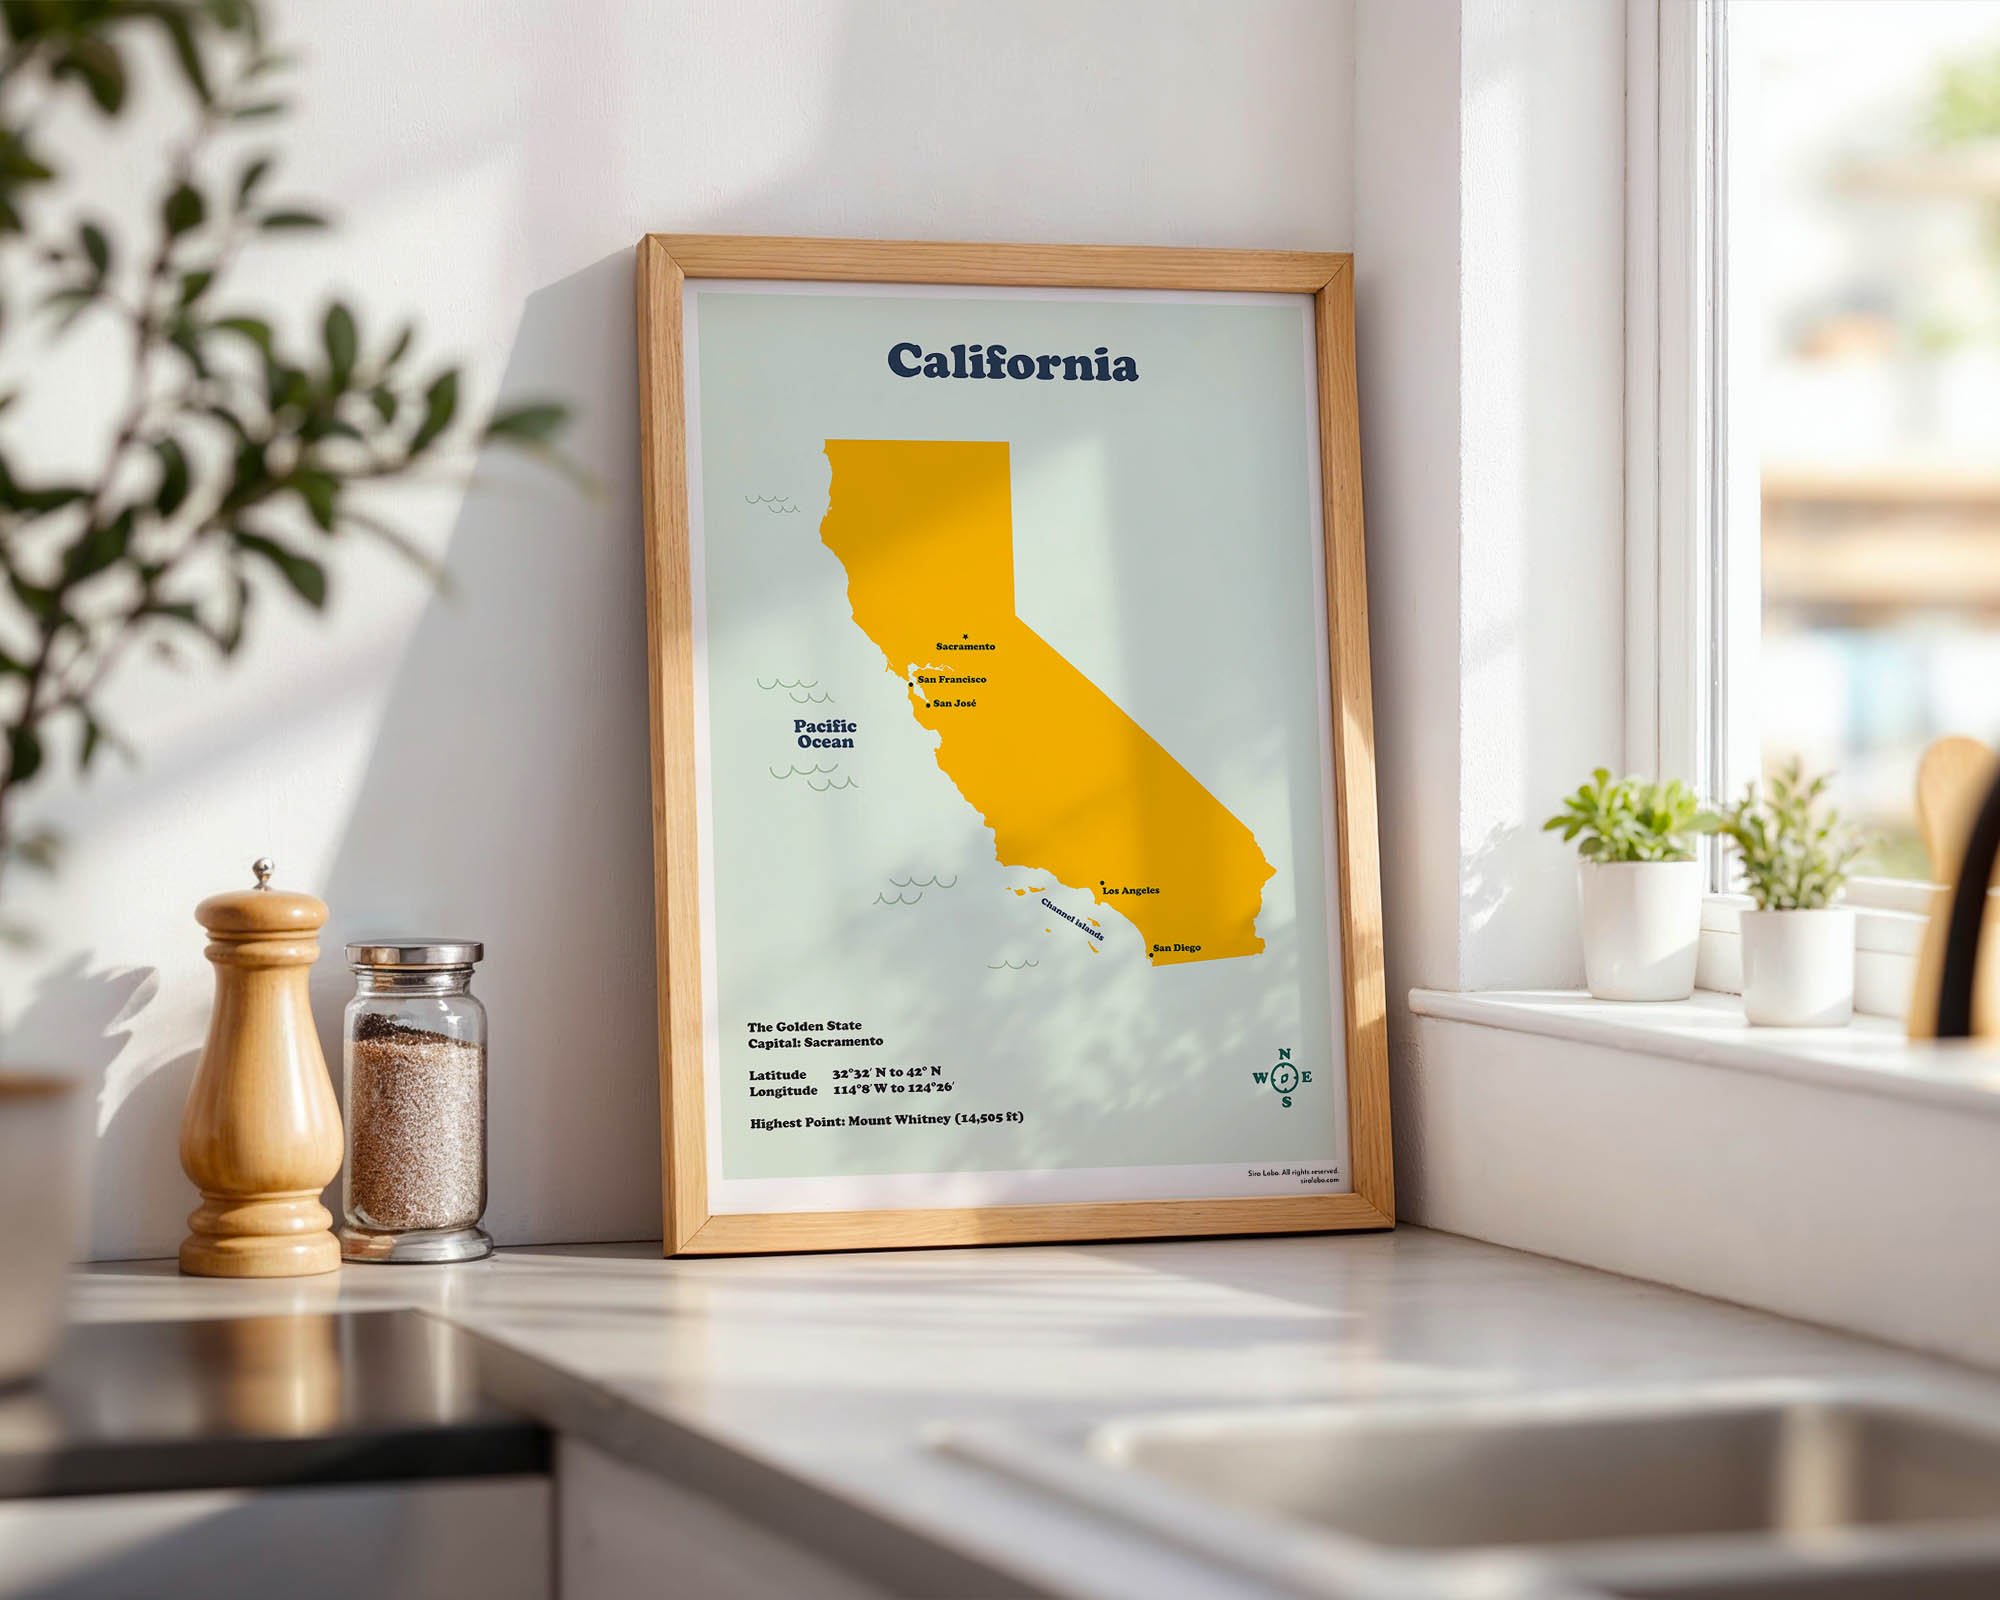
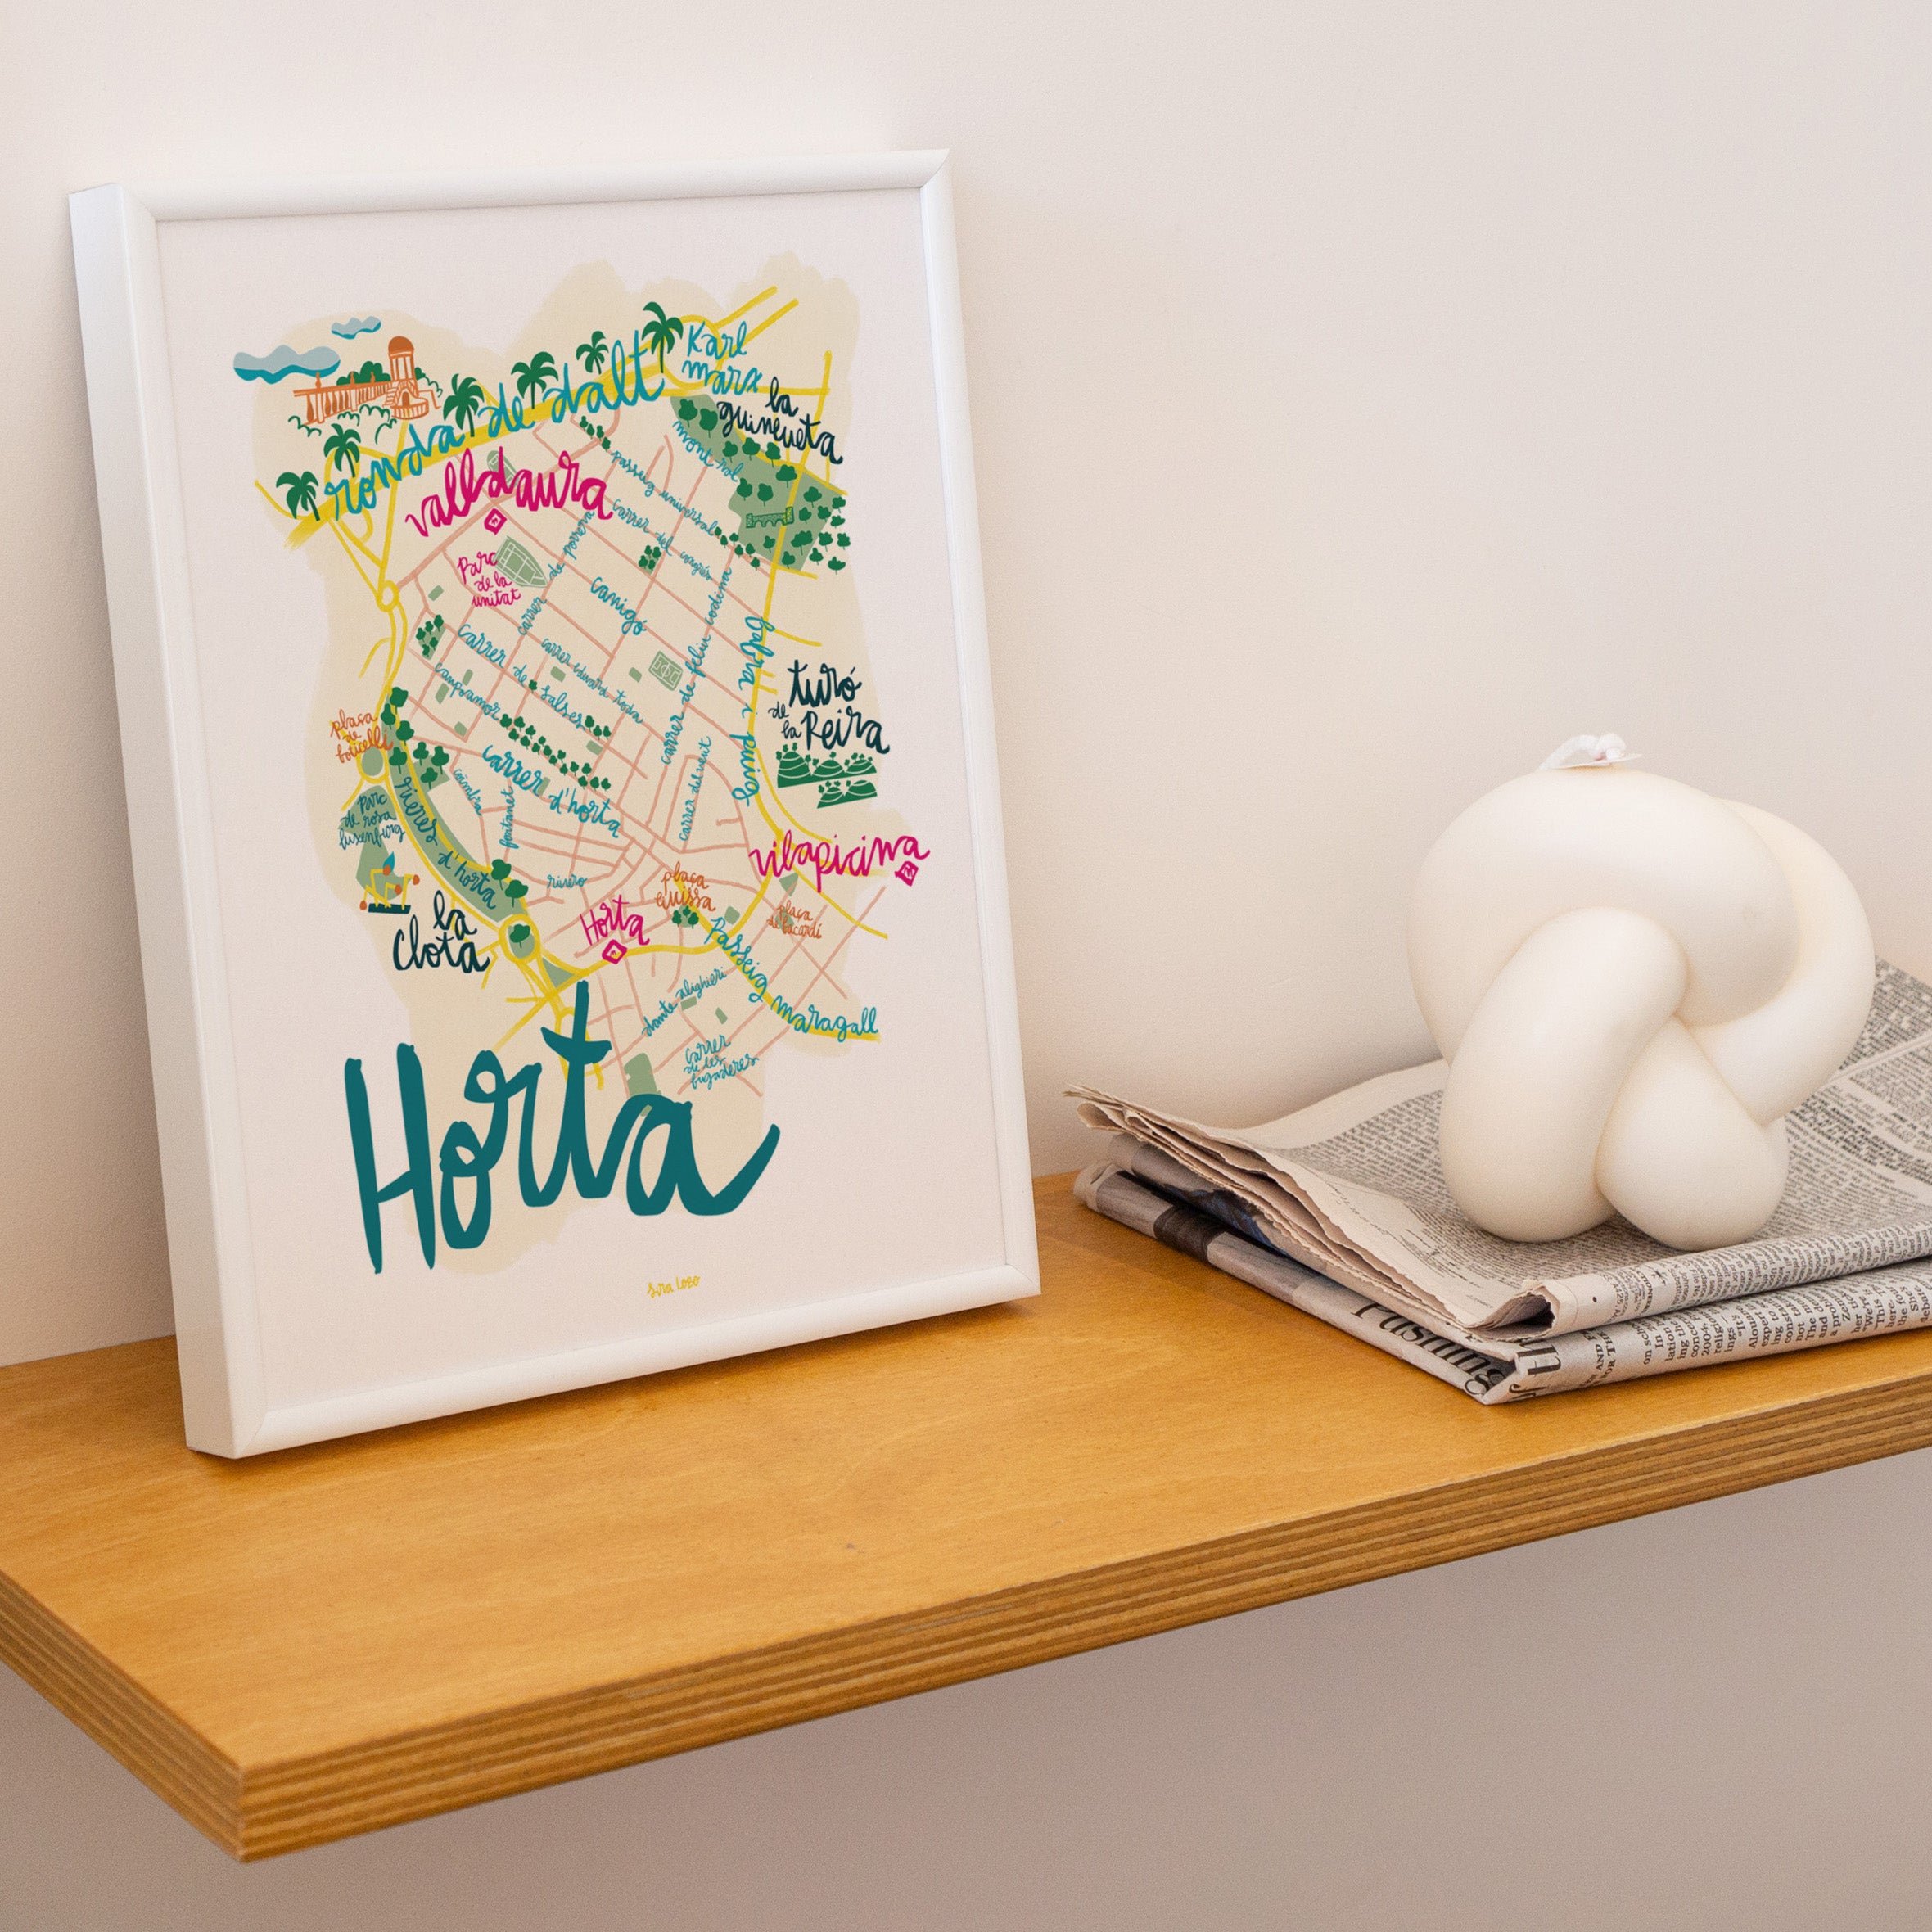
Imagine the thrill of printing your own map at home, bringing the wonders of the world to your fingertips with just a few clicks. Whether it's a city map, a detailed continent overview, or a personalized travel itinerary, printing maps at home allows you to unleash your creativity and customize your exploration experience. In this step-by-step guide, we'll take you through the process of printing your map from a downloadable file. Get ready to embark on a DIY adventure and transform your space into a gateway to the world.

Step 1: Choose the Perfect Map: The first step is to find the perfect map for your desired location. Consider factors such as the level of detail, style, and resolution. Whether you prefer a vintage-inspired design or a modern and minimalist aesthetic, choose a map that resonates with your personal taste and complements your space.
Step 2: Download and Save the File: Once you've found the ideal map, proceed to download the file onto your computer. Save it in a location where you can easily access it later. Remember to choose a file format that is compatible with your printer software and supports high-quality printing. Common file formats for maps include JPEG, PDF, and PNG.
We are offering 5 ratios to match at least 20 different sizes, the ratios are:
+ International ISO Size for printing up to A1
+ 2:3 Ratio Ready to print up to 24 x 36 inches
+ 3:4 Ratio Ready to print up to 24 x 32 inches
+ 4:5 Ratio Ready to print up to 24 x 30 inches
and
+ The big standard frame: 50 x 70 cm / 20 x 28 inches
Step 3: Prepare for Printing: Before hitting that print button, ensure that your printer is ready for the task. Check ink levels, paper supply, and any specific settings recommended for optimal printing. Consider using high-quality paper that suits your preferences, such as matte, glossy, or textured paper. Keep in mind that a thicker paper stock will result in a sturdier map, perfect for framing or displaying.
Step 4: Adjust Printing Settings: Open the file using an appropriate software or image viewer and access the printing settings. Take your time to review and customize the settings according to your desired outcome. Options such as paper size, orientation, print quality, and color settings can significantly impact the final result. Ensure that the settings are aligned with your intentions, whether it's a crisp black and white print or a vibrant and colorful rendition.
Step 5: Print and Enjoy! With all the preparations in place, it's time to hit that print button and watch your map come to life. Depending on the size and complexity of the map, printing times may vary. Be patient and allow the printer to work its magic. Once the printing is complete, carefully remove the printed map from the printer, taking care not to smudge or damage the fresh ink. Step back and marvel at your DIY creation—a unique and personalized map ready to adorn your space.
Step 6: Customize and Display: Now that you have your printed map, let your creativity shine. Consider customizing it further by adding notes, markers, or even personal photos to mark memorable locations or routes. Frame it, use it as a centerpiece for a corkboard travel collage, or incorporate it into a gallery wall showcasing your wanderlust spirit. The possibilities are endless, allowing you to infuse your own unique touch and create a visually captivating display.

Printing maps at home opens up a world of possibilities for customization and personalization. With a few simple steps, you can turn a downloadable file into a tangible piece of art, ready to inspire and guide your adventures. Embrace your DIY spirit and unleash your creativity. Print maps of your favorite destinations, dream destinations, or create personalized itineraries. Let your map reflect your wanderlust and make a bold statement in your space.
Get ready to embark on a visual journey right from the comfort of your home!
